Making roll-on blends has always been a favorite blending activity of my students in the Aromatic Wisdom Institute classroom. Aromatherapy Roll-ons are fast and easy to make and can address a multitude of issues such as
anxiety, muscle pain, stress, sinus headache, insomnia, and much more.
At the end of this blog post, you will find 12 DIY recipes to help jumpstart your own blending ideas!
This post may contain affiliate links to help my readers find products that will enhance their aromatherapy practice and/or their life in some way at no extra cost to you.
What is an Aromatherapy Roll-on?
An essential oil roll-on, also called a roller bottle, is a slim bottle in which you add one or more essential oils plus a carrier oil to make a blend with a specific purpose and apply it to your skin. Because essential oils need to be diluted in a carrier oil before applying to the skin, this becomes a safe and effective way to apply a blend topically.
The Four Parts of a Roll-on Blend
1. The Bottle
- Material: They are made of glass and the most common colors are clear, amber, and cobalt blue. You can also find a rainbow of other colored roller bottles online which are fun to pair with the purpose of the blend inside the roller bottle. For example, blue for a cooling headache blend, red for a base chakra blend, and yellow for an uplifting citrus blend. . I once bought a case of 100 in 6 colors – red, orange, yellow, green, and purple – and discovered that the glass was actually painted with transparent glass paint. Nevertheless, they were lovely and I’d buy them again.
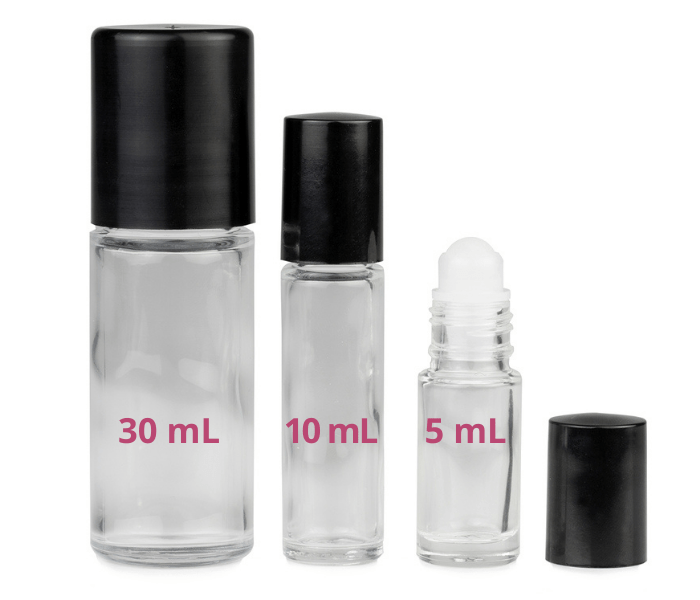
- Size: I have seen roller bottles sold in sizes from 2mL to 30 mL (1 oz). However, the most common sizes are 5 mL, 10mL, and 30 mL. The most commonly used is 10mL. The small 5mL roller bottles are great for creating small amounts of perfume, a travel blend, or a free gift. You will need to refill them more often. The 30 mL roller bottle is a good choice if you have a large area to address such as the back, or you know you’re going to be using it often.
2. The Roller Ball This refers to the plastic or stainless ball at the top that protects the essential oil from leaking out of the bottle and allows you to roll the oil right onto your skin. The ball is typically made of hard plastic and, less often, stainless steel. Plastic is more affordable and steel is slightly more durable. Either works well so just what you prefer.
3. The Carrier Oil of your choice. There is a wide choice of carrier oils, each offering different benefits. I like to choose a carrier oil that supports the blend I’m making. Read more below under the step-by-step tutorial for making your roll-on.
4. The Essential Oils. Finally, the last and most important addition to your roller bottle is essential oils. You can use a single oil or a blend that combines the benefits of several essential oils.
The Benefits of using an Aromatherapy Roll-on
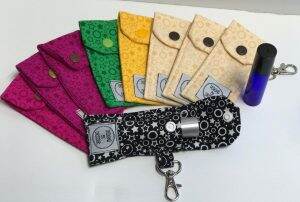
- Portable. A small roll-on bottle is easy to toss in your purse or backpack to take with you on the go, especially if you use a colorful Silicone Sleeve like those pictured below. I purchased this set of six.
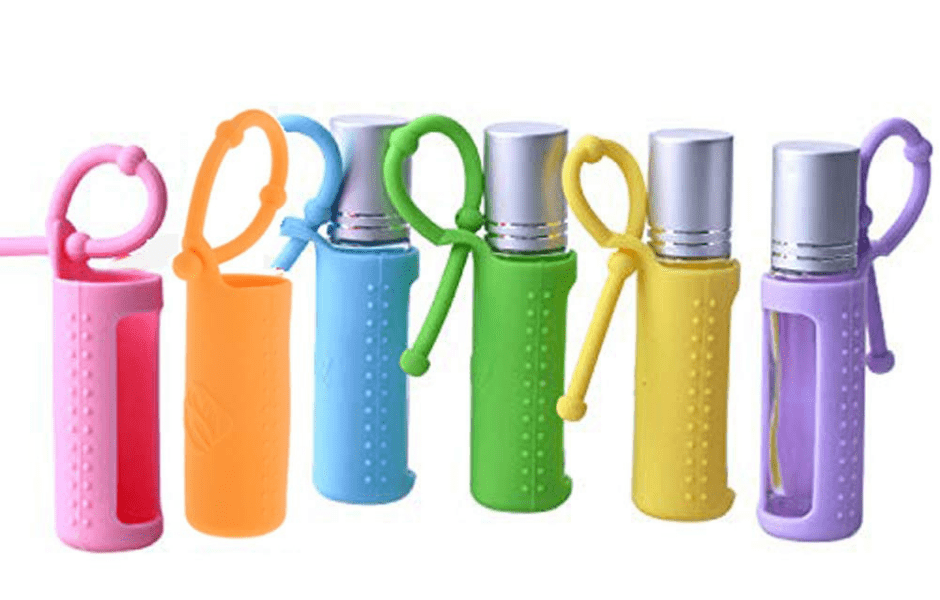
- If you’d prefer a handmade fabric pouch, I suggest you try one of the beautiful designs from Tabitha of Designs by Dresser on Etsy. I purchased the Magenta Stars!
- Ease of Application When you wish to apply a blend to a specific area of the body, it is easy with a roll-on. The bottle enable you to address the exact spot that needs attention without having to “oil up” more of your body than is necessary. Just apply the blend of your choice to the part of your body that is inflamed or sore.
- Create Your Own Perfume. Roll-ons aren’t just for therapy, you can also create a beautiful personalized blend that becomes your signature aroma and apply it with a roller bottle.
Dilutions for a Roll-on Blend
10 mL Roll-on Dilution Chart
- .5% Dilution: 1 drops of essential oil
- 1% Dilution: 2 total drops of essential oil
- 2% Dilution: 4 total drops of essential oil
- 3% Dilution: 6 total drops of essential oil
- 5% Dilution: 10 total drops of essential oil
- 10% Dilution: 20 total drops of essential oil
Steps to Make Your Own Roll-on Blend
Step 1: Determine the Purpose of Your Blend. You’d be surprised how many people begin to mix their ingredients without having a clear intention or purpose for their blend. Once you know what you want your blend to do, the next step will be easy.
Step 3: Choose the essential oils that lend the properties that will make your blend effective for its purpose. It could be therapeutic, energetic or aromatic properties. If you really don’t know where to start, I have a list of Ten Roll-on Recipes at the bottom of this post.
Step 3: Determine the Correct Dilution of Your Blend.
Step 4: Choose your carrier oil. As stated earlier, I like to choose a carrier that supports the purpose of the blend. For example, Trauma Oil would be a great carrier for a Roll-on Bruise Blend. When in doubt, or if you’re making perfume in which the therapeutic properties of the carrier are less important, you can always use Fractionated Coconut Oil or Jojoba Oil because they are both odorless and have a long shelf life making your blends last longer.
Step 5: Put It All Together.
- Gather your physical materials: the roller bottle, carrier oil, and essential oils.
- Add 2-10 drops total of essential oils in the bottle according to the dilution you’re making.
- Fill the rest of the bottle with your carrier.
- Press the roller ball into the bottle and place the cap then shake to blend.
- Make a label with the blend and the date.
Step 6: Use Your Blend! To use, roll over the skin to apply the blend focusing on the area of concern, like a bruise or sore muscle. If you simply wish to enjoy the energetic or aromatic aspects, roll on your wrists, chest, and neck.
Roll-on Safety
Don’t share your roller bottle with others to avoid cross-contamination. Cross-contamination is the transfer of bacteria from one person or object to another. Roller bottles are a personal item and everyone should have their own. I once attended a class where the (inexperienced) teacher passed around a roller bottle for everyone to try on the back of their hand. I was appalled. Needless to say, I simply sniffed the blend and passed the bottle. In this case, she could have given everyone a tissue and had them wipe the roller ball across the tissue for them to smell the blend. Even passing the roller bottle for everyone to sniff could potentially end up with noses touching the roller ball.
Don’t apply the roll-on blend near your eyes. if the blend contains essential oils that are strong and will cause discomfort to the eyes. This is really important if you make a roll-on blend for the sinuses. The tendency is to use the roll-on on the temples and across the sinuses. This is not recommende, in particular if your blend contains oils with the chemical components menthol (Peppermint) or 1,8 cineole (Eucalyptus, Ravintsara)
Safety Reminders when Using Roll-ons
- Vary where you apply your roll-on blend. If you consistently apply it to the same part of your body, you may develop a skin issue called essential oil sensitization
- Be mindful of using phototoxic essential oils to any of your blends if you will be going in the sun after application.
Listen > AWP 037: Essential Oil Sensitization: Are you at Risk?
12 Printable Essential Oil Roll-on Recipes
Where to Buy Essential Oils
Suggested Essential Oil Suppliers – with GC/MS reports
Suggested Essential Oil Suppliers – without GC/MS reports